
How to Install a Cork Board Roll for Walls? A Step-by-Step Guide
Introduction
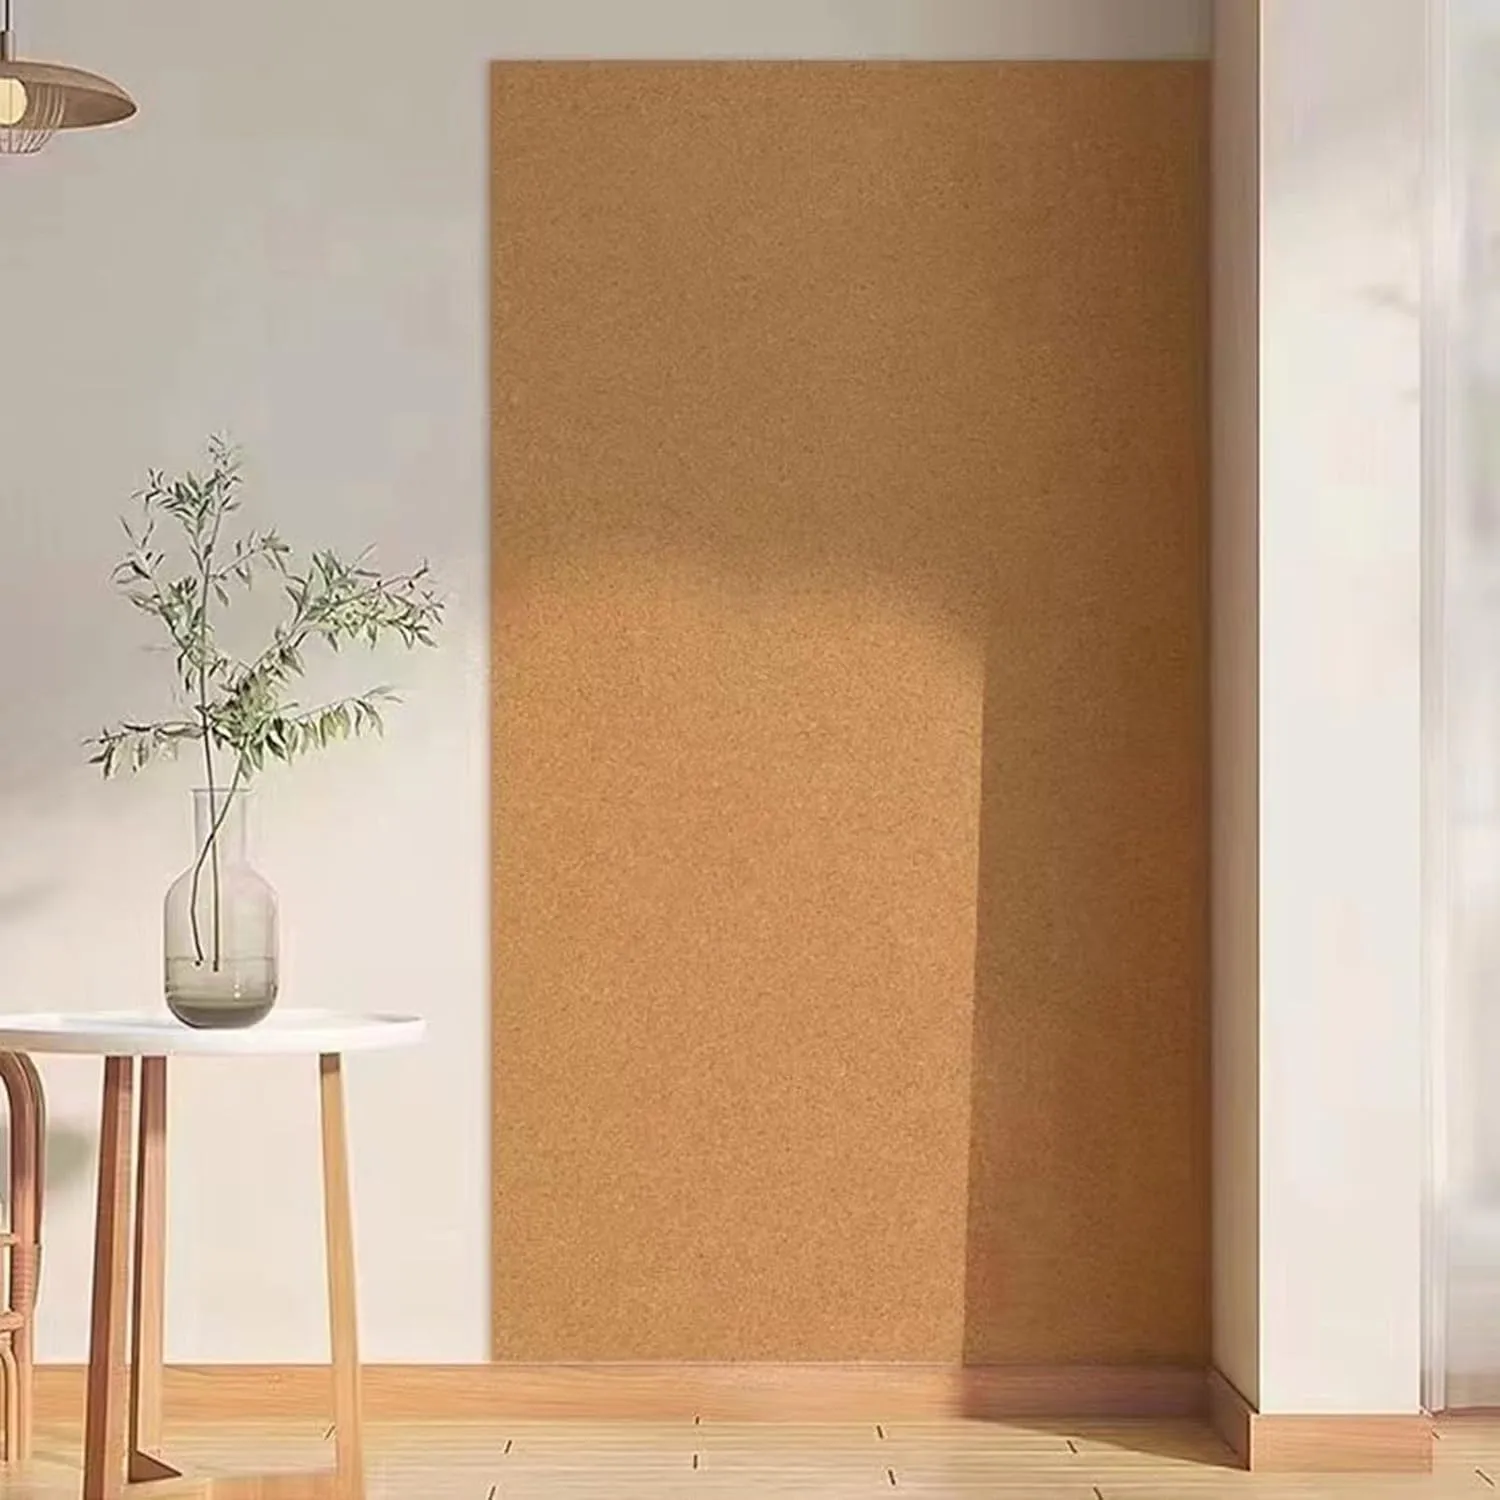
A bare wall above your desk is wasted space. A framed board is too small, and drilling holes is not always an option. A cork board roll for walls solves both problems: it covers the whole wall, holds pins anywhere, and can be installed in an afternoon with basic tools.
This guide covers everything you need to know to install a cork board roll for walls — wall preparation, adhesive selection, cutting, pressing, and seam handling. Follow the steps and you will get a smooth, seamless pin wall that lasts for years. Skip the preparation, and the most common failures — peeling edges, visible seams, bubbles — will show up within weeks.
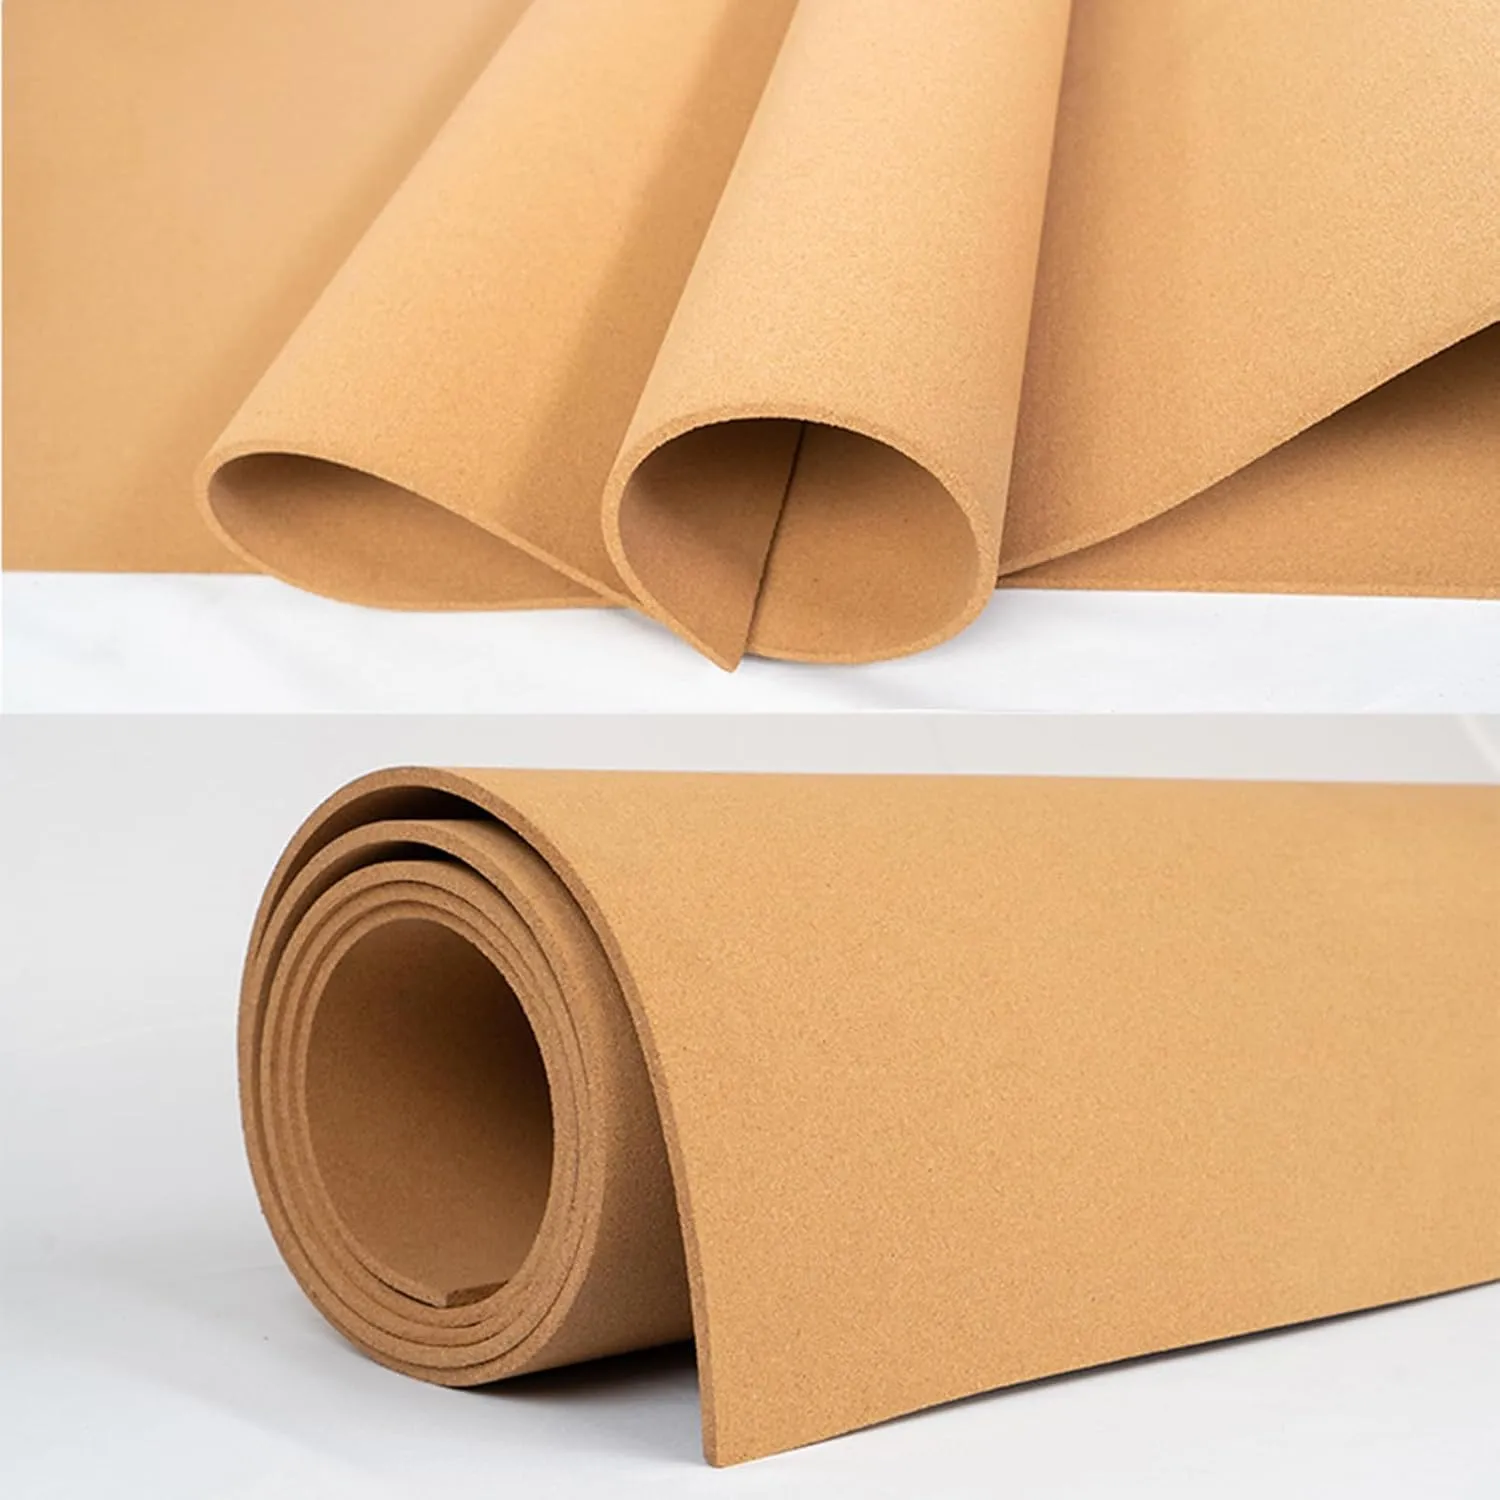
Why Choose a Cork Board Roll for Walls?
Before the installation steps, it helps to understand why a roll is different from tiles or framed boards.
Roll vs. Tiles vs. Framed Boards
|
Option |
Coverage |
Seams |
Cost per m² |
Flexibility |
|
Cork roll |
Full wall, any width |
None or one seam |
Low |
Cut to any shape |
|
Cork tiles |
Fixed grid |
Many seams |
Medium |
Limited |
|
Framed board |
Small area only |
N/A |
High |
None |
A cork board roll for walls is the only option that gives you a truly seamless surface. Tiles create grid lines that collect dust and show misalignment. Framed boards stop at their frames. With a roll, you decide the size and shape — a full feature wall, a strip above a desk, or a shaped panel for a kids' room.
Other Benefits
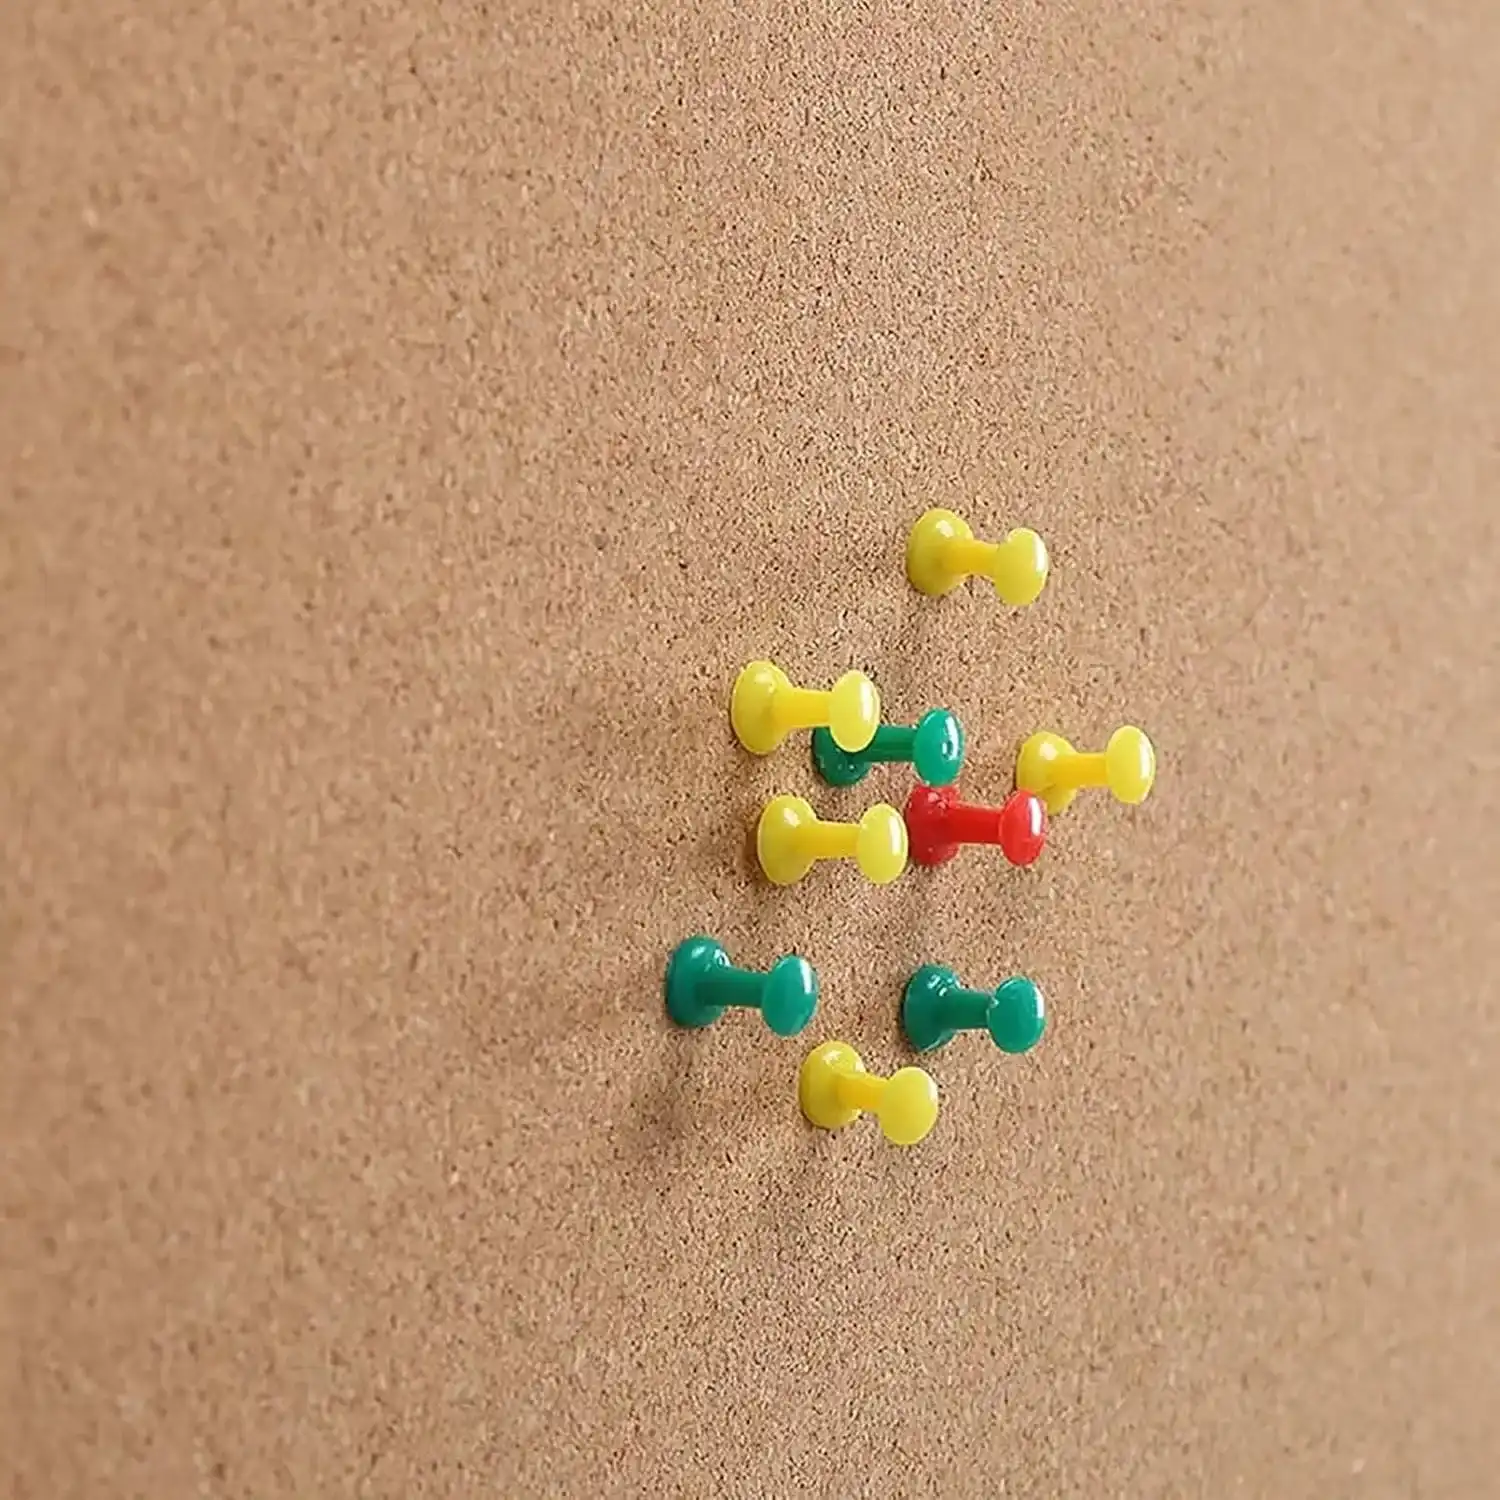
l Pin anywhere. Pure cork holds push pins across the entire surface, not just inside a frame.
l Quiet. Cork absorbs sound, which makes it popular for home offices and classrooms.
l Self-healing. Pin holes close up on their own, so the wall keeps looking clean.
l Natural material. Cork is harvested from the bark of cork oak trees without cutting them down.
Tools and Materials
Prepare everything before you start. Stopping halfway to look for a knife is how seams get dirty and adhesive skins over.
Tools
l Utility knife with fresh blades (cork dulls blades quickly — keep spares)
l Steel straightedge or level, at least 60 cm long
l Tape measure and pencil
l Wallpaper smoothing tool or a clean plastic scraper
l Paint roller and tray (for liquid adhesive) or a notched trowel
l Seam roller (optional, for large walls)
Materials
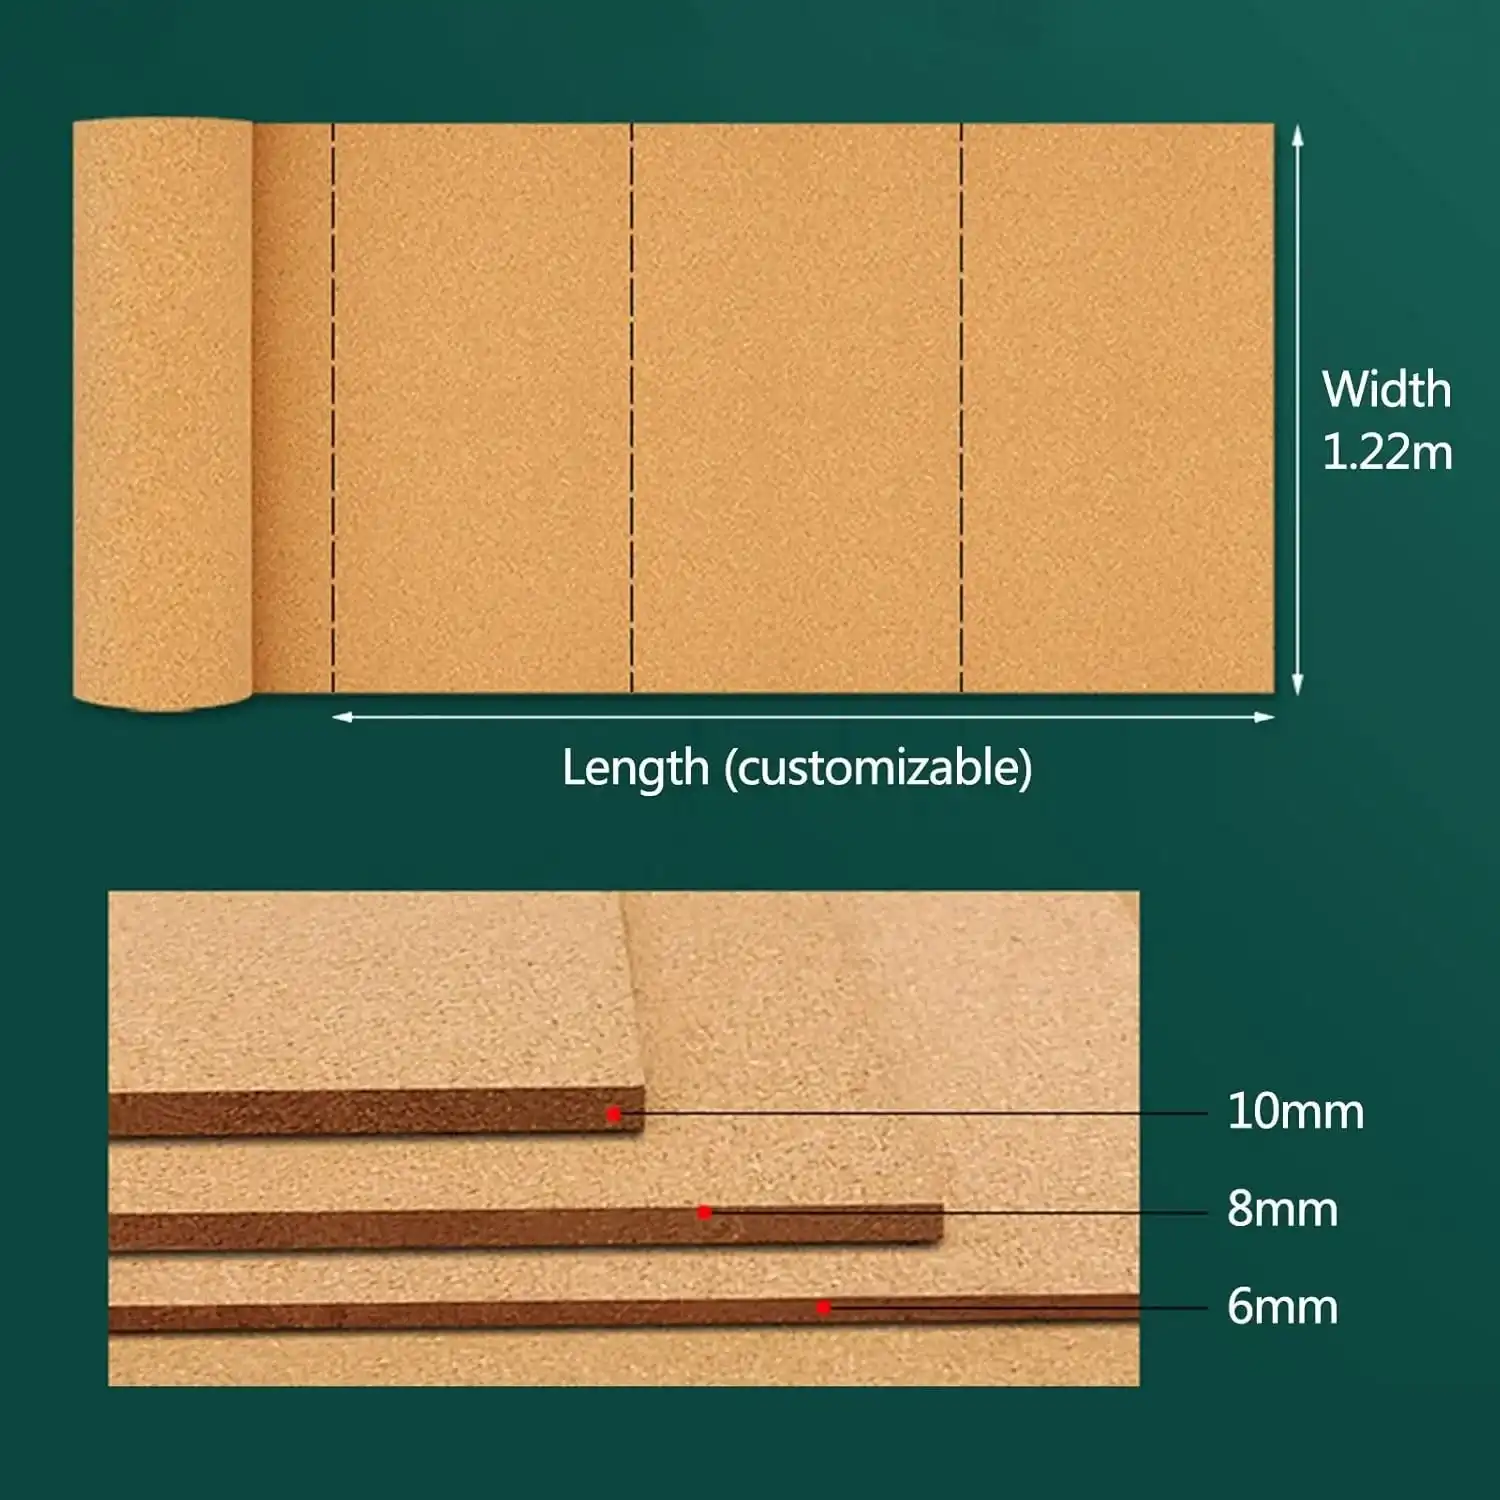
l Cork board roll, 3–6 mm thick for walls (6 mm holds pins more firmly)
l Contact adhesive, solvent-based construction adhesive, or spray adhesive
l Painter's tape
l Drop cloth
|
Self-adhesive vs. glue-on: some cork rolls come with a pressure-sensitive backing. They are faster but bond less strongly, and they do not tolerate textured or dusty walls. For a permanent full-wall installation, liquid adhesive is the safer choice. |
Step-by-Step Installation
Step 1: Prepare the Wall
The wall must be smooth, dry, and clean. Cork shows every imperfection underneath.
1. Fill holes and sand bumps flat.
2. Wash off dust and grease; let the wall dry completely.
3. Painted walls should be matte or eggshell. Glossy paint needs light sanding so the adhesive can grip.
4. Fresh paint needs at least two weeks to cure fully before gluing.
Step 2: Measure and Cut
Measure the wall, then roll the cork out on a clean floor with the finished side down. Add 2–3 cm extra on each side for trimming. Cut with a fresh blade against the straightedge, scoring lightly first and then cutting through. Replace the blade as soon as cuts start to fray.
If your wall is wider than the roll, plan the seams now. Put seams where they are least visible, and make sure both edges come from the same roll so the color matches.
Step 3: Apply Adhesive
Work in a ventilated room. Follow the adhesive manufacturer's coverage rate — more glue is not better, and excess adhesive can soak through thin cork and cause staining.
l Contact adhesive: apply to both the wall and the cork back, wait until tacky, then bond. There is no repositioning — alignment must be right the first time.
l Spray adhesive: good for smaller panels and easier positioning.
l Construction adhesive: trowel onto the wall in thin ridges, then press the cork on.
Step 4: Position and Press
Start at the top. Align one vertical edge first, tape it in place, then press downward and outward with the smoothing tool, working air out toward the edges. On large walls, have a second person hold the lower part while you align the top.
For seams: butt the two edges together tightly — do not overlap, do not leave a gap. Roll the seam with a seam roller. A tight, glued seam is nearly invisible in cork's natural texture.
Trim the excess at edges with the utility knife against the straightedge, then roll the whole surface once more with firm, even pressure. Full bond strength develops over 24–48 hours, so avoid pinning anything during that time.
Common Mistakes to Avoid
l Skipping wall cleaning. Dust is the number-one cause of peeling edges.
l Using too much adhesive. It can bleed through the cork and leave dark patches.
l Stretching the roll while pressing. Cork can stretch slightly; stretched material shrinks back later and opens the seams. Press, do not pull.
l Ignoring acclimatization. Let the roll rest in the room for 24 hours before installing so it adjusts to temperature and humidity.
l Pinning too early. Wait for the adhesive to cure fully.
Where a Cork Wall Works Best
l Home office: a full planning wall for notes, schedules, and mood boards.
l Classroom and kindergarten: soft, quiet, and safe — no sharp frames.
l Cafés and shops: menu boards and display walls with a warm, natural look.
l Hallways and kids' rooms: artwork and drawings that change every week.
Conclusion and Next Steps
Installing a cork board roll for walls is a one-afternoon project with a payoff that lasts for years: one seamless surface, no frames, no grid lines, and pins that go anywhere. The keys are simple — prepare the wall properly, choose the right adhesive, cut with fresh blades, and press without stretching. If you are planning a colored or extra-thick wall, request samples first and test the adhesive on a small piece before committing to the full wall.
|
Ready to start your project? Browse our cork board rolls in standard and custom sizes, or contact us for samples and bulk pricing — we will help you pick the right thickness and adhesive for your wall. |
FAQ
Can I install a cork board roll on a textured wall?
Not directly. Heavy texture prevents full contact, and the cork will peel. Skim-coat or sand the wall first, or mount the cork onto a thin MDF panel and hang the panel.
How thick should a cork board roll for walls be?
3 mm is fine for light notes; 6 mm holds pins more firmly and hides wall imperfections better. For commercial walls, 6–8 mm is standard.
Can I paint a cork board wall?
Yes, but paint stiffens the surface and reduces pin-holding. If color matters, consider a factory-dyed cork roll instead of painting.
How do I clean a cork wall?
Dust with a dry cloth or vacuum with a soft brush. For stains, use a slightly damp cloth with mild soap — never soak the cork.
Can I remove the cork later without damaging the wall?
A glue-on installation is effectively permanent. If you rent your home, choose a self-adhesive cork roll and test a corner first.

You May Like
0Related Industry Knowledge