
Cork Fabric Sewing Projects: Can You Sew Them at Home?
If you have never sewn a non-woven material, running cork through your machine can feel intimidating. The good news is that cork fabric sewing projects are more beginner-friendly than they look. The material does not stretch, fray, or shift, and it holds its shape while you sew. This guide covers machine setup through zippers so you can make bags, wallets, and accessories at home with standard equipment.
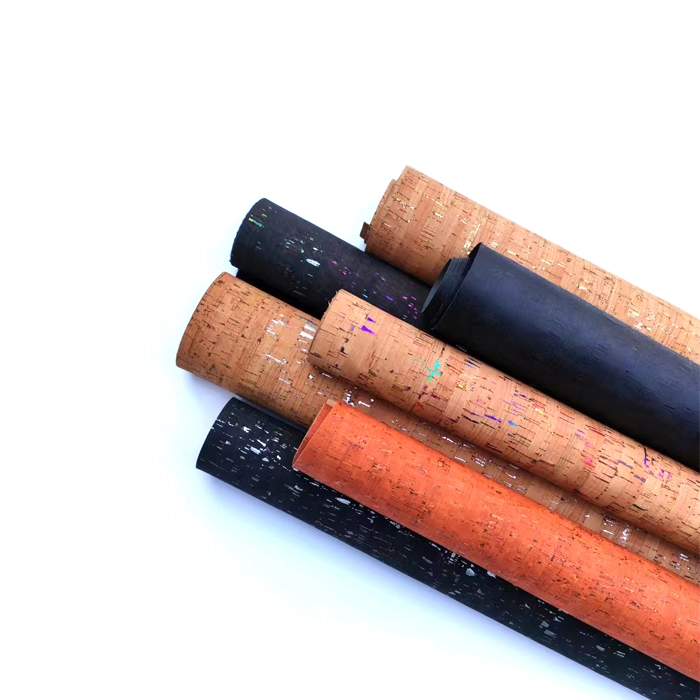
Why Cork Fabric Sewing Projects Are Easier Than You Think
Cork behaves like a stable, slightly padded sheet rather than leather or cloth — and that stability is what makes it forgiving for newcomers used to fighting wobbly knits.
What Makes Cork Sewable
Unlike knits that resist your feed dogs, cork has no grain direction to wrestle, and unlike woven cotton it will not unravel at a cut edge. The surface is tacky enough to stay put, and the backing gives it body to feed evenly. The only real tweak is cutting surface drag — a non-stick foot fixes that in seconds.
What You'll Need
· A domestic sewing machine (no industrial rig required)
· A leather needle in size 80/12 or 90/14
· A Teflon or roller presser foot
· Polyester or bonded nylon thread, around 40 wt
· Fabric clips instead of pins
· A light iron-on stabilizer for the 0.4 mm weight
· A rotary cutter for clean edges
None of this is specialist gear. cork fabric sewing projects work with the same tools you already use for denim or canvas — the change is in setup, not shopping.
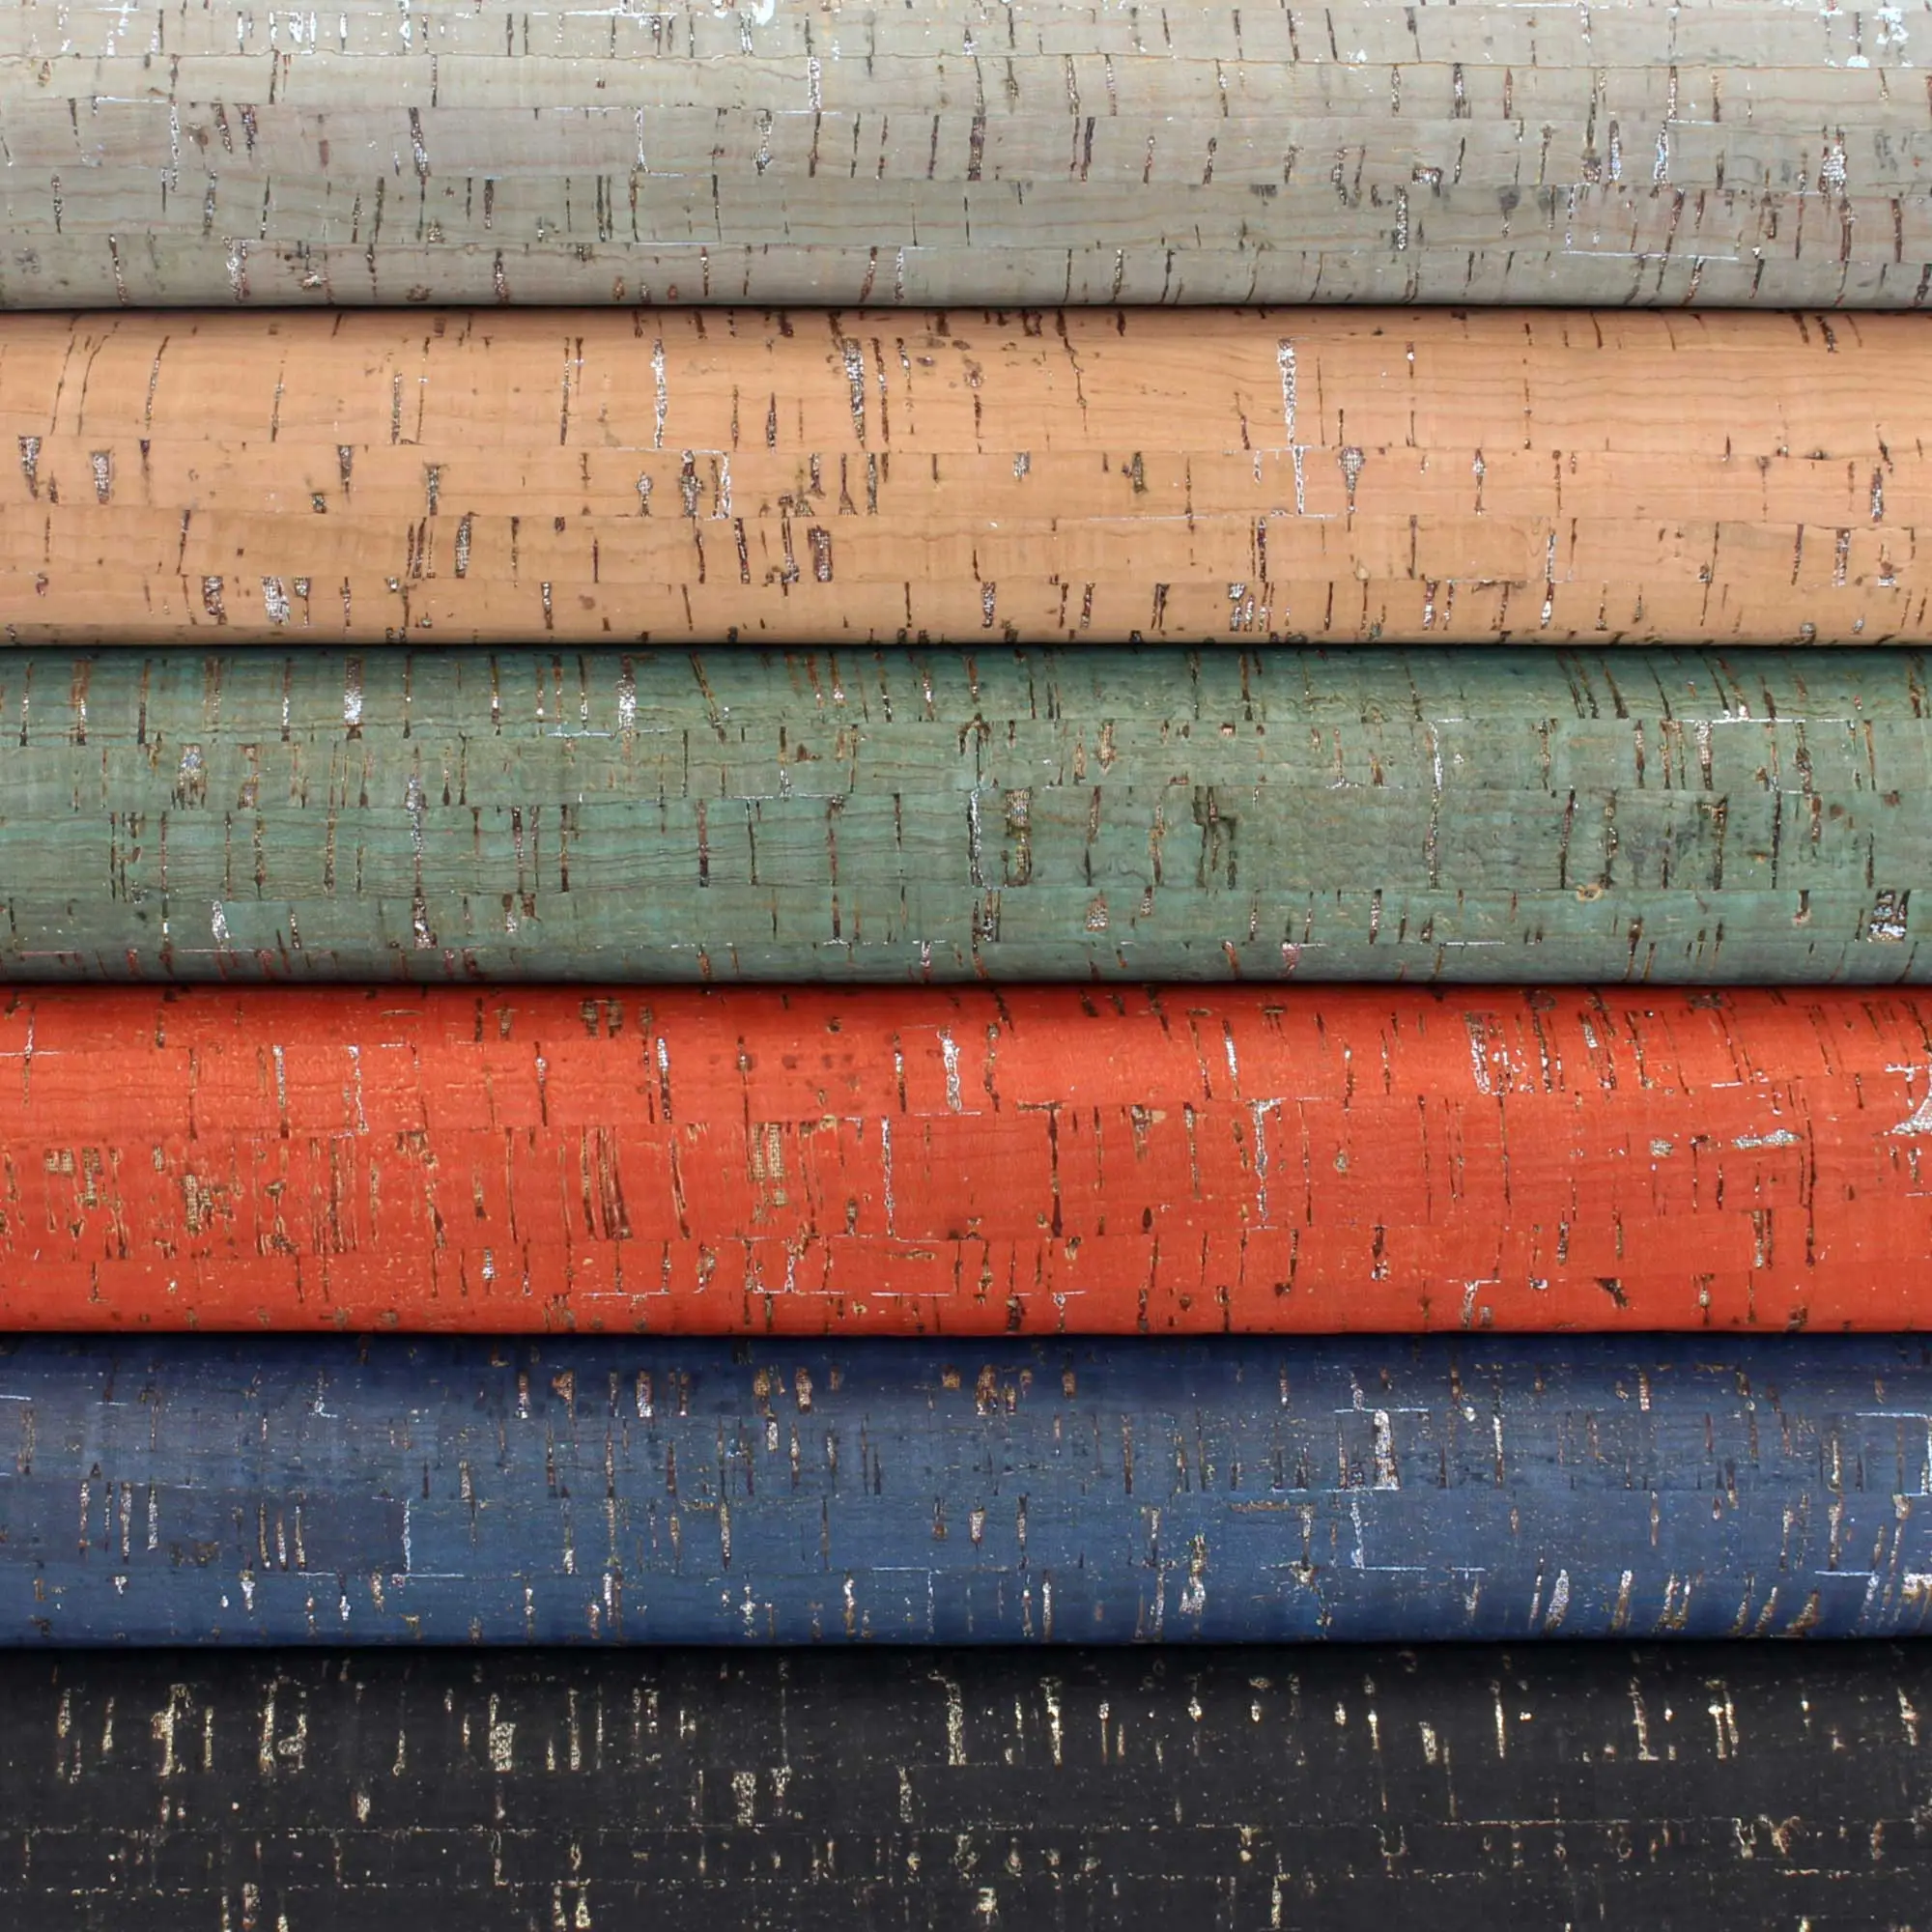
Step-by-Step: Cork Fabric Sewing Projects
Step 1 — Prepare and Stabilize
Wipe the surface with a barely damp cloth; never soak it. For 0.4 mm structured items, fuse light interfacing to the back so seams do not telegraph. Cut with a rotary cutter on a self-healing mat for the cleanest edge.
Step 2 — Needle and Thread
Fit a fresh leather needle — a dull one punches rather than pierces and can mark the surface. Use polyester thread for its give and abrasion resistance. Because cork fabric sewing projects have no stretch, tension matters far less than with knits, so your default settings usually work.
Step 3 — Stitch Length
Lengthen stitches to 3.0–3.5 mm. Short, tight stitches perforate the material and weaken the seam, just as they would on leather. A slightly looser top tension also helps the thread sit neatly.
Step 4 — Sew the First Seam
Clip pieces together instead of pinning, align the raw edges, and sew at a steady medium speed. The cork fabric sewing projects feed evenly because they are rigid, so focus on keeping the seam allowance consistent rather than wrestling the fabric.
Step 5 — Corners, Curves, Top Stitching
At corners, stop with the needle down, pivot, and continue. For curves, clip the allowance slightly and slow down. A topstitch 1.5–2 mm from the edge gives a finished look and locks the layer in place.
Step 6 — Zippers and Hardware
Switch to a zipper foot and tape the zipper with wash-away tape so it cannot slip. Rivets, eyelets, and snaps set cleanly with a handheld tool — back the area with a cork scrap so the tool does not scar the face.
Step 7 — Finishing and Care
Press from the back at low heat, no steam, through a pressing cloth. Raw edges do not fray, but bias tape hides them neatly. Finished pieces wipe clean with a damp cloth.
Common Mistakes and How to Avoid Them
Pins Instead of Clips
Pins leave permanent holes you cannot undo. Clips or wash-away tape hold just as well without damage.
Keeping the Standard Metal Foot
A metal foot drags the surface and can scuff it. A Teflon or roller foot lets the sheet glide and protects the finish.
Stitching Too Short
Tiny stitches perforate and weaken the seam. Lengthen to 3.0 mm or more for a stronger, neater result.
Most of these headaches disappear once you treat cork fabric sewing projects as the stable, non-stretch sheet they actually are, rather than delicate leather that needs coaxing.
Project Ideas to Build Your Confidence
Beginner — Cardholder or Coaster
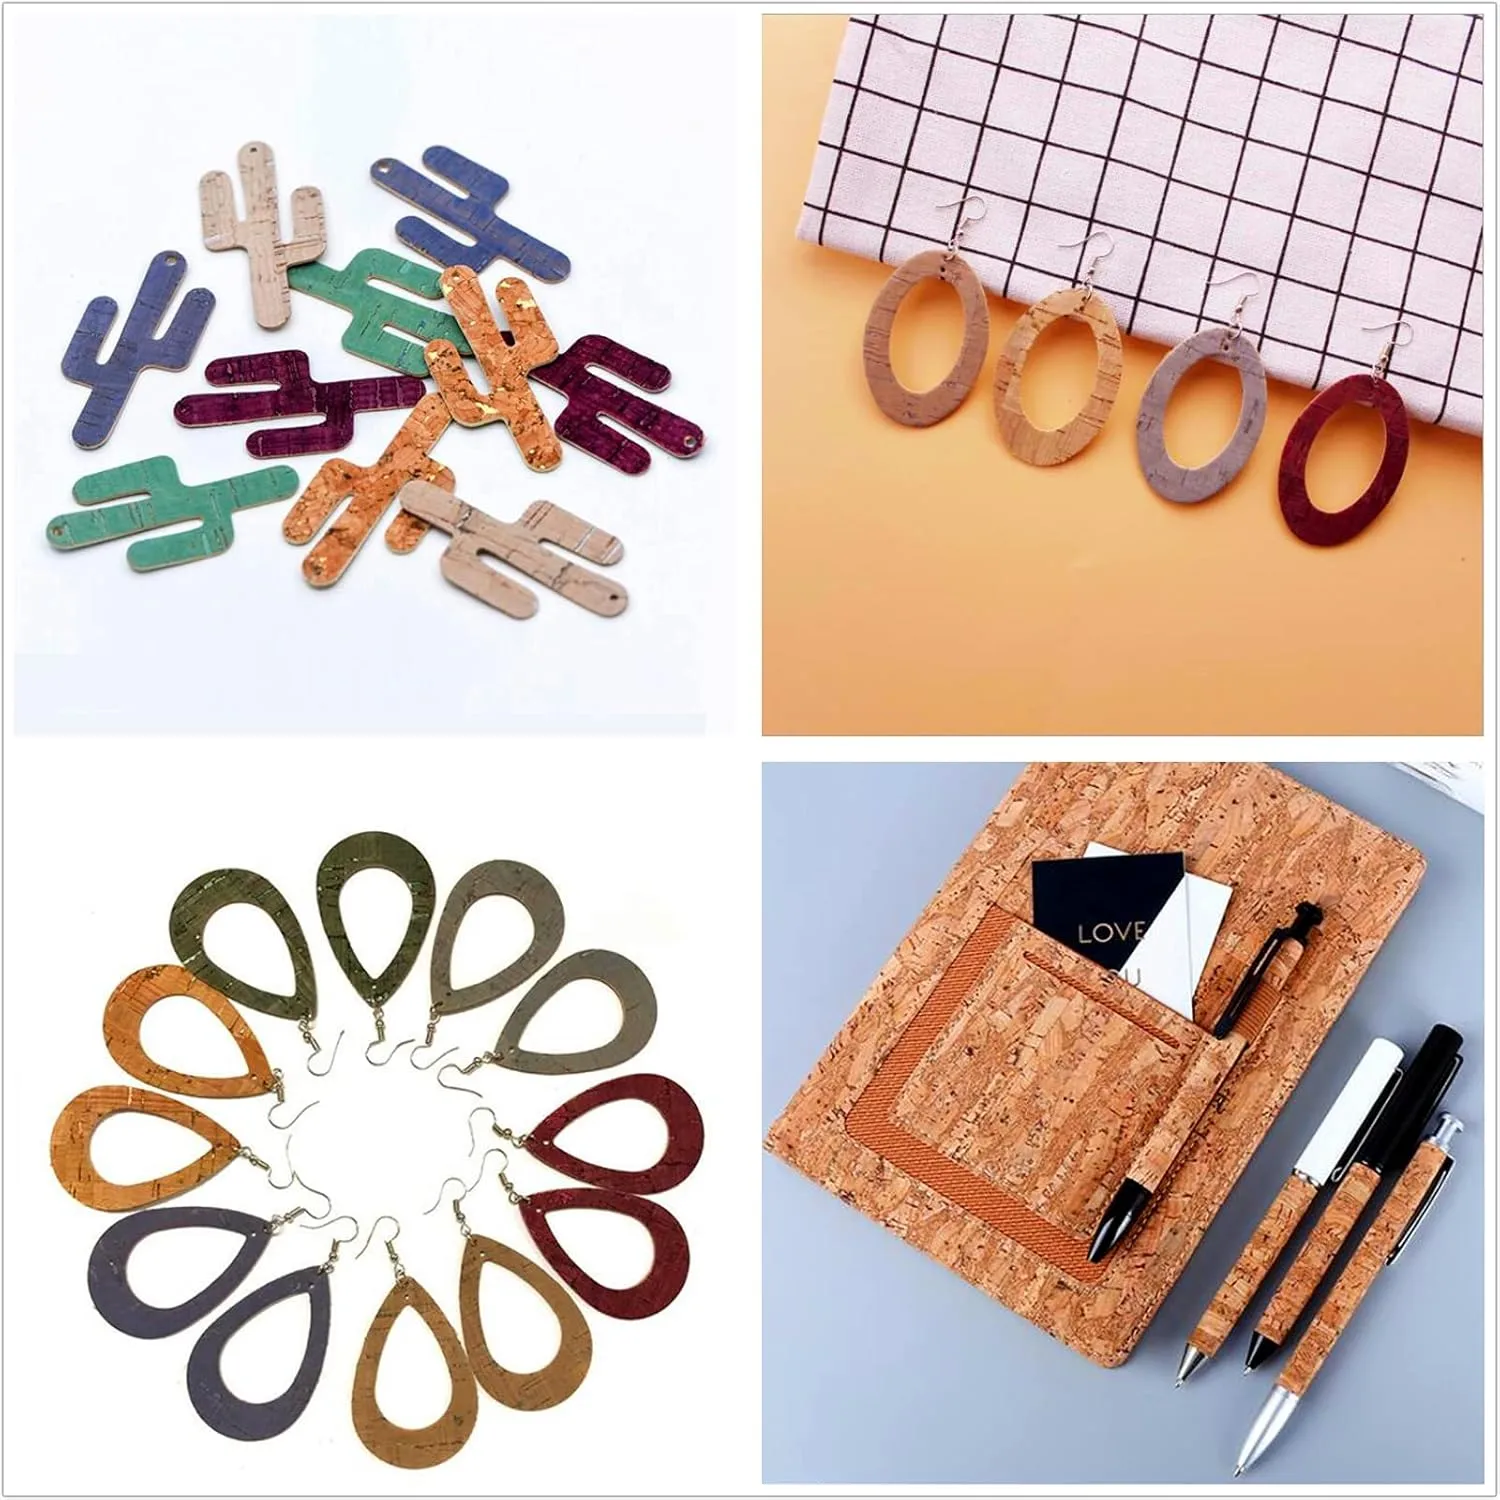
Two flat pieces, one seam, no hardware. The fastest way to learn the foot and stitch length without commitment.
Intermediate — Tote or Zip Pouch
Adds a zipper, topstitching, and a boxed corner — where the material's structure really starts to shine.
Advanced — Structured Bag or Laptop Sleeve
Multiple panels, interfacing, and riveted straps show off everything cork fabric sewing projects can do, from clean topstitching to hardware that sets without cracking.
FAQ
Do I need an industrial sewing machine?No. A standard domestic machine handles every weight we sell; an industrial rig only speeds up high-volume production.Can I iron cork fabric?Yes, but only from the back, at low heat, with no steam, and through a pressing cloth. High heat can warp the backing.How do I hide raw seams?Use a folded edge, bias tape, or topstitch the seam open. Because the edge does not fray, an exposed seam is safe — just finish it neatly.Is cork fabric hard to cut accurately?Not at all. A rotary cutter on a cutting mat gives cleaner lines than shears and avoids the compression heavy scissors can cause.Will the color fade after use?High-quality colored versions use UV-stable pigments and resist fading. Avoid prolonged direct sun for best long-term results.
Sewing cork is less about special skill and more about the right setup: a leather needle, a non-stick foot, longer stitches, and clips instead of pins. With those in place, cork fabric sewing projects reward you with clean seams and a premium, genuinely sustainable look. Start with a cardholder, move to a zip pouch, and you will be turning out professional bags and accessories before you know it.

You May Like
0Related Industry Knowledge